Older-Unit Care · Seasonal houses
Reopening After Months Away: The First Day
A unit that stood switched off through an island winter needs a first day of checks before any food goes back into it.
- Written by
- Bjorn Aaltonen
- Trade
- Refrigeration technician, 15 yrs
- Holds
- EPA 608 certified
- Dated
What the winter leaves behind
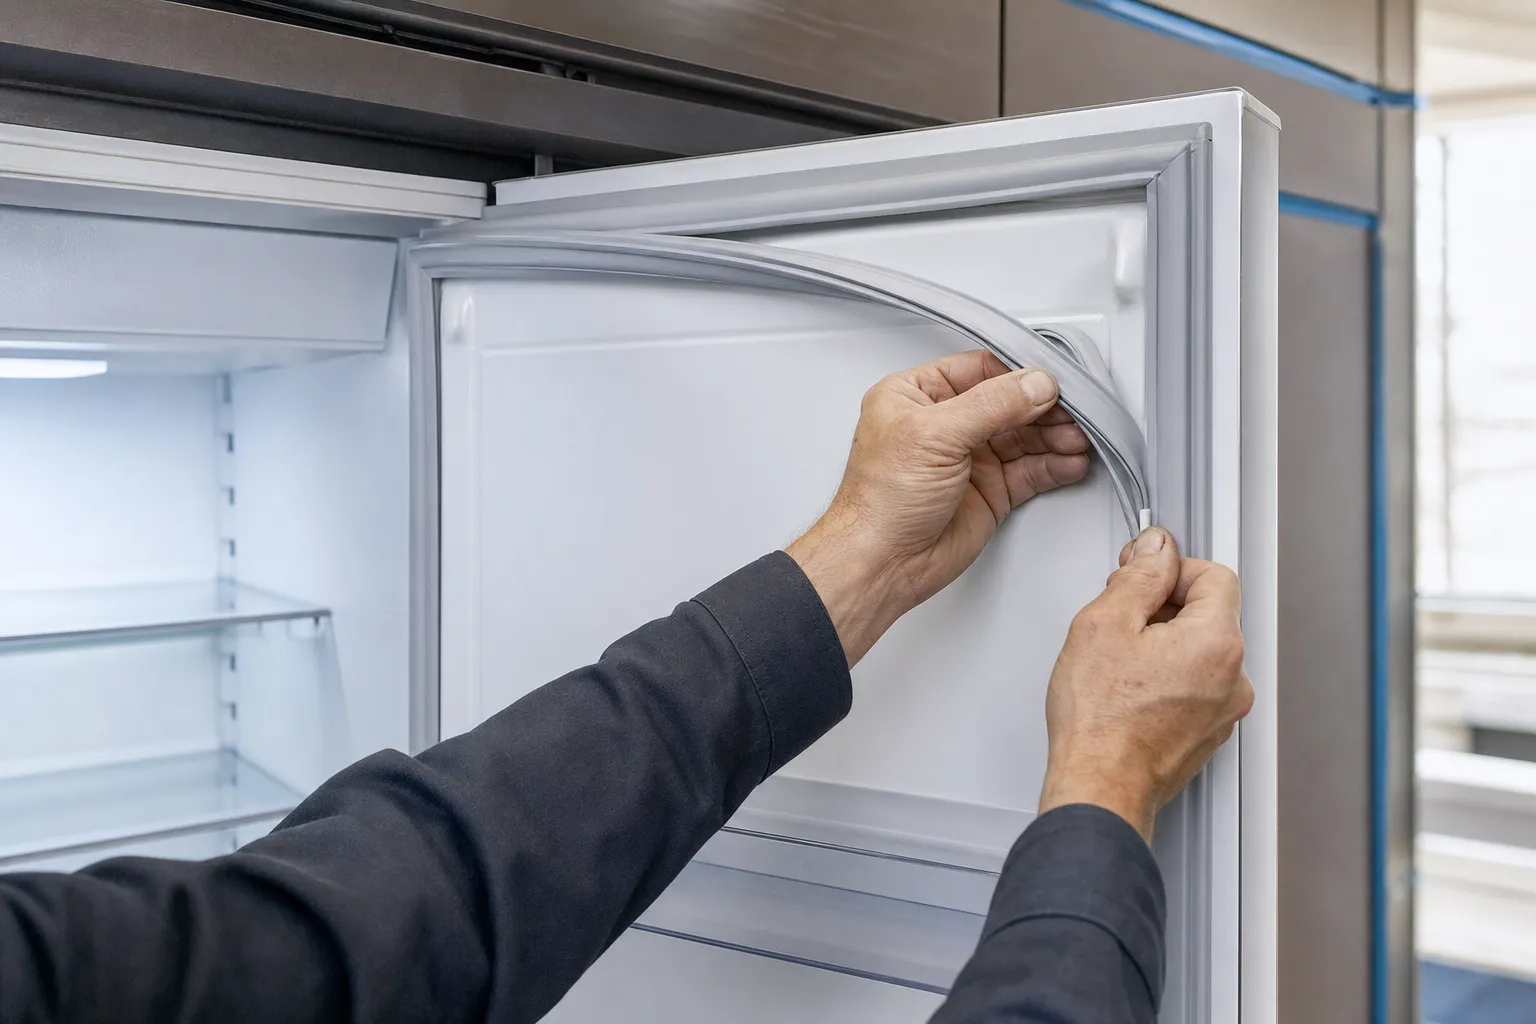
A refrigerator that has been off for months has nothing wrong with it in most cases. What the island winter does is leave damp in any part of the cabinet that could not air: the gasket folds, the joint between the liner and the shelf supports, the drain pan underneath. How the unit was shut down decides how much of that there is. Doors blocked open usually means a wipe and a switch-on. Doors left closed means a proper clean first, because mould and a musty smell do not improve once the cabinet is cold and wet with condensation.
Signs the first day is not going well
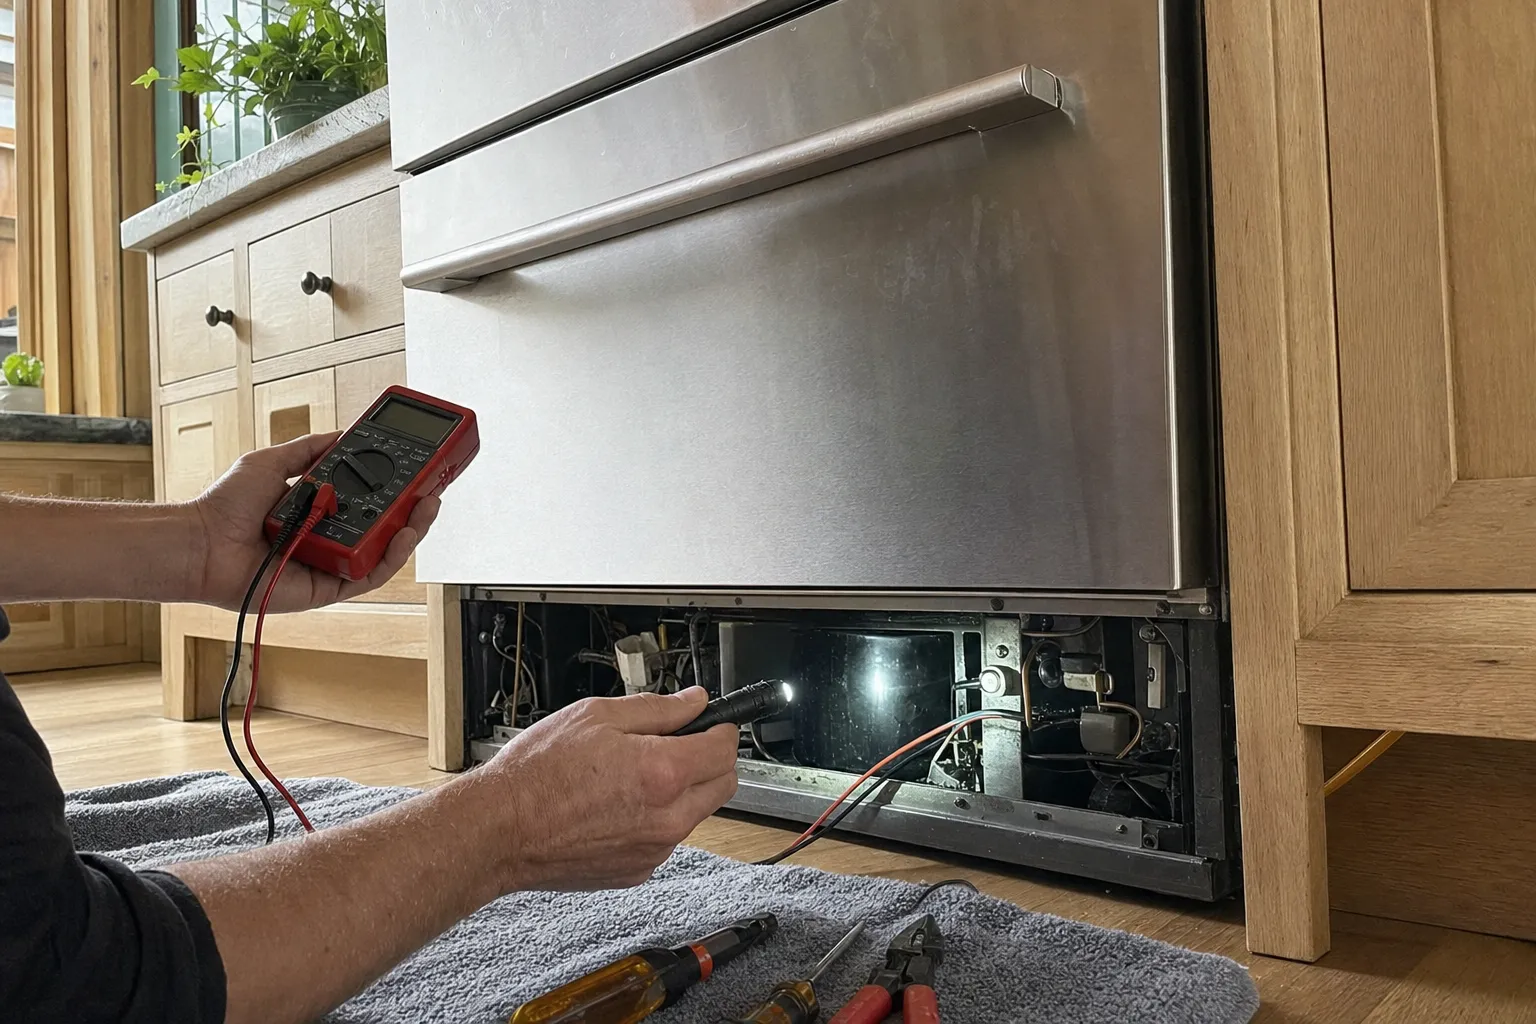
Some things are worth a call rather than more waiting. The cabinet is no colder after the time its guide allows. The compressor never seems to start at all. On a Classic, the indicator the guide describes for a temperature or ice maker problem is lit or flashing; on a 600-series built-in, the SERVICE light flashes. Both guides say the same light can mean the condenser needs cleaning, so look at the condenser first, and ring if the light stays after that.
Why the order matters
Every step above happens before food goes in, and that is the point. An empty unit that struggles costs you a service call; a loaded unit that struggles costs you the food as well.
The procedure, step by step
- You will want
- Flashlight · Two appliance thermometers · Soft cloths
- And to hand
- Mild dish soap · Baking soda · A new water filter, on a Classic
-
Look and smell before the power goes on
Shine the flashlight into the corners of the liner, round the shelf supports and into each gasket fold, and notice how the cabinet smells. A dry, clean interior with no particular smell is ready. Dark specks in the folds or a sour smell mean cleaning first, while the surfaces are still dry and at room temperature.
-
Clean whatever needs it, gently
The manufacturer's interior method is a mild solution of soap and lukewarm water with a little baking soda, then a rinse and a thorough dry. No vinegar, and on a Classic no rubbing alcohol or alcohol-based cleaner either. A smell that survives this is the subject of the next page in this series.
-
Fit a new water filter on a Classic
The Classic use and care guide asks for the water filter to be replaced before a unit that was shut down for an extended absence is started again. Other models describe their own filter in their own guides; follow the one for yours.
-
Take the wedges out and switch on
On a Classic, touch POWER. On a 600-series built-in, press the UNIT ON/OFF key pad. On an older 500-series unit, turn the controls back on or switch the breaker back on. Leave the temperature settings where they were and close the doors.
-
Give it the time the guides allow
The 600-series guide says to allow 24 hours for the refrigerator to reach the temperature you set. If an older 500-series unit stays silent at first, its guide says it may be in defrost and to wait 30 minutes to see whether it starts.
-
Trust a thermometer, not the display
Stand an appliance thermometer in each compartment. The FDA's marks are 40°F or below in the refrigerator and 0°F or below in the freezer. Put food back only when both thermometers are there.
-
Switch the ice maker back on last
Turn the ice maker on at the control panel once the freezer is cold. The Classic troubleshooting list asks that the ice maker has been on for at least 24 hours before an empty bin is treated as a fault.
That is where an owner stops. Past this point the work means panels off, live wiring or the sealed system, and it is ours: Driftwood Appliance Service, (206) 785-2960.